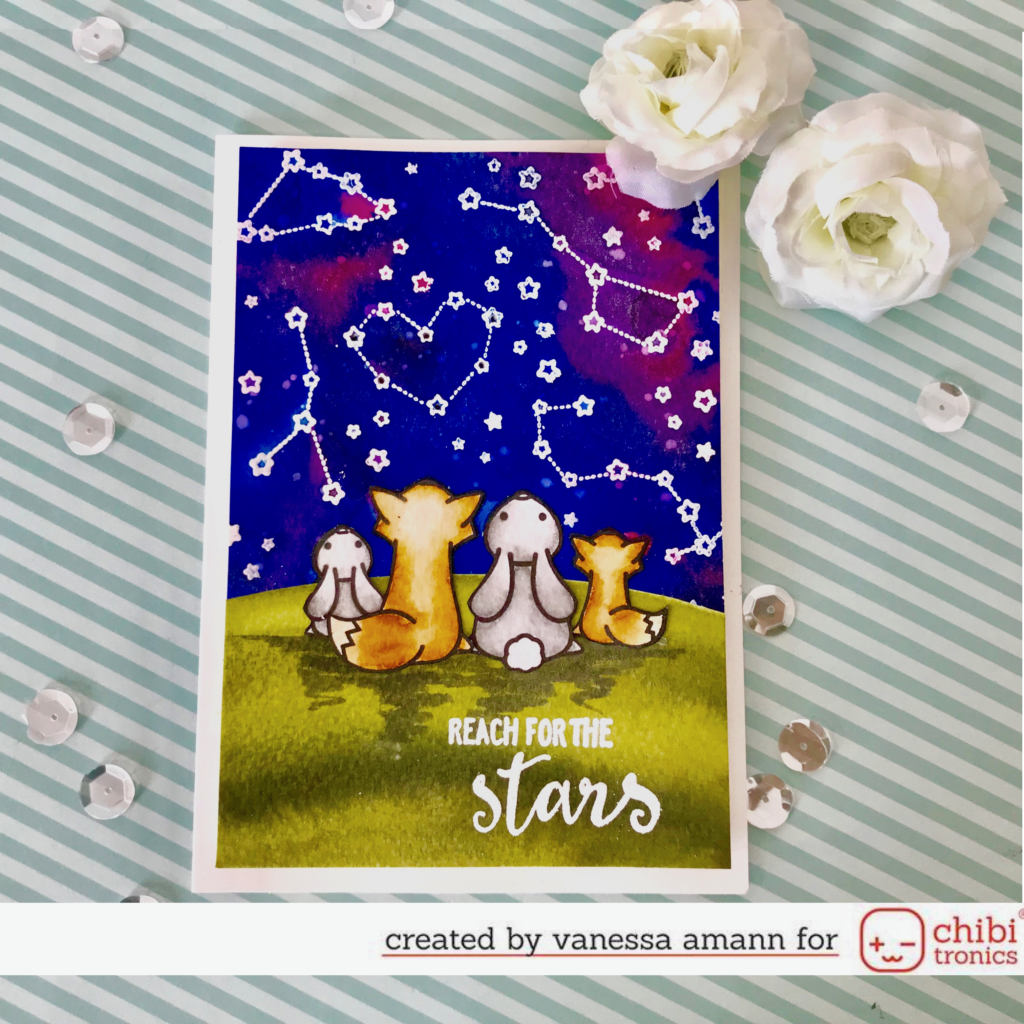
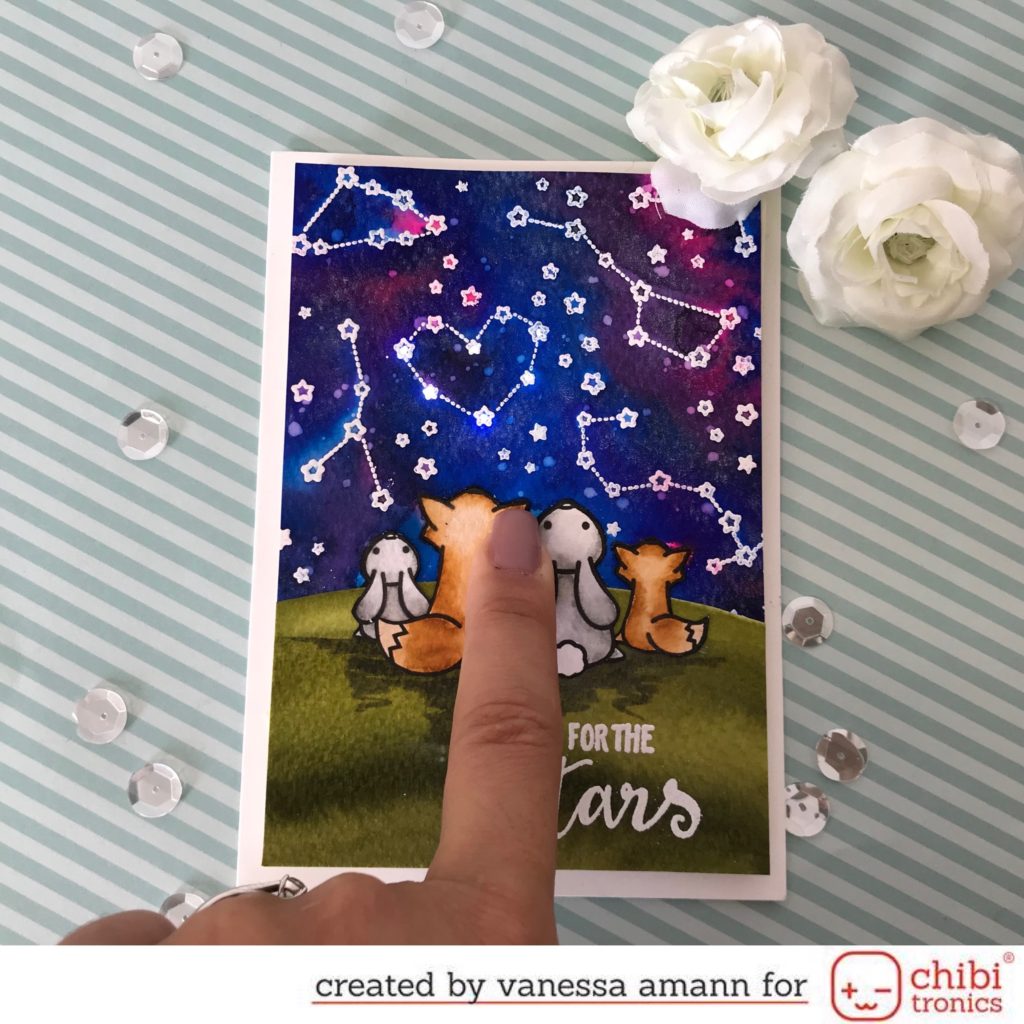
today I´m back with a new video tutorial using stamps from Lawn Fawn. For long time I wanted to use the upon a star set, but it never fit. But In case I would find an opportunity to use this set, I already knew what I wanted to create. I wanted to create a night sky background, with white heat embossed stars and star signs and the critters sitting on top of a hill looking for the amazing sky. And so it happens and I had the idea to create a shining star sign.
- I stamped the star and star sign images all over the card panel using a sticky ink pad, scatter white embossing powder over the images and heat set it. But don't forget to using something to take away the static, so the embossing powder only sticks to where you have stamped
- To create my night sky I scribbled some Spectrum Noris Sparkles Pens and spray some water on top. I was surprised that the colors blended so well and created an amazing and so realistic looking look
- I Stamped with a water proofed black ink pad on watercolor paper and colored my images using the Zig Real Color Brush Pens. I´m sorry, I totally forgot to write down the colors and now I can't remember. To blend the colors I used a dark shade, a middle one and used a watercolor brush to blend it out. After coloring I fuzzy cut all the images.
- I scribbled a dark green and a middle green on watercolor paper and blended it out with my watercolor brush and created a hill shape. I fuzzy cut it also.
- I glued my hill and my images on my card panel and gave the images some shadow underneath them. I wanted it to look more realistic.
- Now to the technical part: the supplies you need for are white LED Stickers, Coppertape and a battery. You can find them on the Chibitronics Starter Kit, or buy everything individually. First I had to decide which stars should shine. The ones supposed to shine I pierced with a craft knife. I used a pen to draw in the LEDs and batteries places. Then I used my stencil to draw in the LED stickers. Now probably the most trickiest part, but just because the shining image is so tiny: connect the battery and the LEDs using copper tape. As the place where the stickers are is so tiny, I simply created two circuits, I wanted to avoid that accidentally plus and minus would cross and the card wouldn't shine. (I´m sorry, in case the explanation is bad, just look the video ;) )
- At the end I covered everything with two layers of foam tape and taped it to a black card base. I didn´t add something more to the card because a) the card is shining and b) the Sparkle pens created so much glitter, I did´t want to overpower this card.
| Batterie | Batterie |
| Chibitronics | Starter Kit |
| Chibitronics | LED white |
| Chibitronics | Cuppertape |
| Fiskars | Schneidebrett |
| Foam Tape | 3M |
| Folia | Bonefolder |
| Folia | Watercolor paper |
| Folia | Acrylblöcke |
| Folia | Bastelskalpell |
| Kuretek | Zig Real Color Brush Pens |
| Lawn Fawn | Starry Skies |
| My Sweet Petunia | MISTI Tool |
| Scotch 3M | Tape Glider |
| Spectrum Noir Sparkles | Vintage Hues |
| Spectrum Noir Sparkles | Winter Warms |
| Tim Holtz | Tonic Trimmer |
| Versafine | Onyx Black |
| Versamark | Watermark Ink |
| WOW Embossing | Opaque White Embossing Powder |


Keine Kommentare:
Kommentar veröffentlichen